Are you looking for a way to improve your garden’s soil quality and reduce waste? Look no further than vermicomposting!
This method of composting uses worms to break down organic matter, producing nutrient-rich castings that can be added directly to your garden beds.
Not only does vermicomposting produce high-quality compost, but it also reduces the amount of waste sent to landfills.
Getting started with vermicomposting is simple and easy. All you need is a container (such as a plastic bin) with bedding material (like shredded newspaper or leaves), food scraps (fruit and vegetable peels are great options), and red wiggler worms.
By following basic guidelines like keeping the bedding moist and avoiding adding meat or dairy products to the bin, you’ll have a thriving worm colony in no time.
In this article, we’ll explore the many benefits of vermicomposting and provide tips on how to get started with this sustainable gardening practice.
How Vermicomposting Works
Vermicomposting is an excellent way to turn organic waste into nutrient-rich compost for your garden.
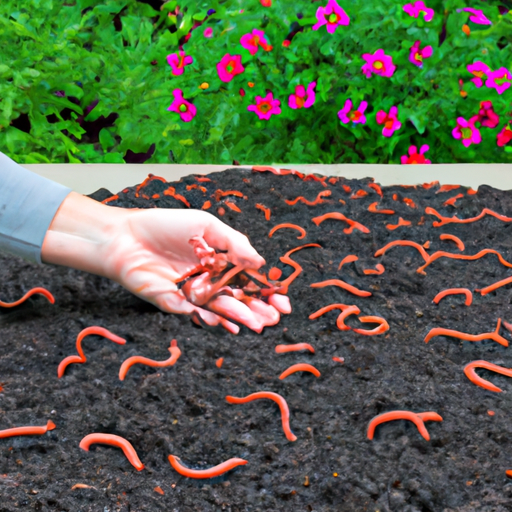
It works by using worms, specifically red wigglers, who have a unique behavior of breaking down the waste material into smaller particles through their digestive system.
As they consume the organic matter, they excrete casts or worm poop that contains essential nutrients such as nitrogen and phosphorus which are beneficial to plants.
This process also helps aerate the soil and improve its texture.
Vermicomposting is an efficient and natural method of recycling kitchen scraps and other biodegradable materials that would otherwise end up in landfills.
By starting vermicomposting, you can help reduce greenhouse gas emissions while creating a sustainable source of fertilizer for your garden.
Nutrient-Rich Compost For Your Garden
Like a chef adding the perfect seasoning to their dish, vermicompost is the flavorful ingredient your garden needs. Not only does it enhance soil health, but it also helps plants grow stronger and more resilient.
To start creating this nutrient-rich compost for your garden, follow these simple steps:
– Choose the right type of composting worms, such as red wigglers or European nightcrawlers.
– Find a suitable container, like a plastic bin or wooden box.
– Add bedding materials, such as shredded newspaper or coconut coir.
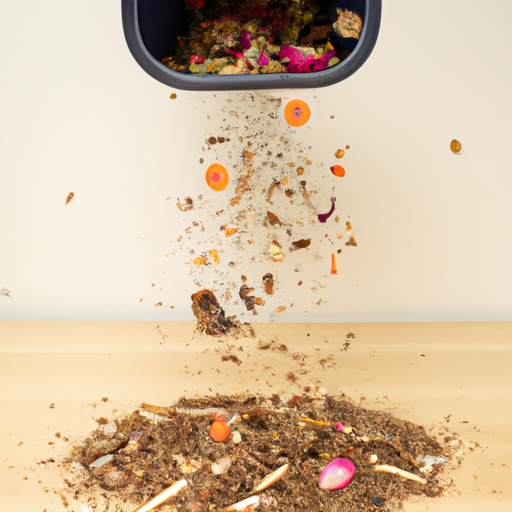
– Begin feeding your worms organic waste, like vegetable scraps and coffee grounds.
As a Master Gardener, I highly recommend giving vermicomposting a try. It’s an easy way to reduce household waste while improving soil quality in your garden. Plus, with just a little effort on your part, those composting worms will do all the hard work for you!
So why not give it a go? Your plants (and planet) will thank you.
Reducing Waste And Helping The Environment
Reducing waste and helping the environment are two of the most important reasons why we should all consider vermicomposting.
Not only does it help reduce the amount of organic waste that ends up in landfills, but it also creates nutrient-rich soil for our gardens and plants.
Community involvement plays a crucial role in making this sustainable lifestyle choice possible.
By educating ourselves and others about the benefits of vermicomposting, we can work together to create a cleaner and healthier environment for future generations.
It is time to take action towards reducing our carbon footprint and embracing more eco-friendly practices.
Remember that every small effort counts, so let’s start with something as simple as setting up a worm bin in our homes or community gardens today!
Setting Up Your Vermicomposting System
Reduce waste and help the environment by setting up your own vermicomposting system. Not only will you divert organic materials from landfills, but you’ll also create nutrient-rich compost for your plants.
Start with bin selection; choose a container that best suits your space and needs. A simple plastic storage bin can work well, or you can purchase a specialized worm composting bin.
Next, determine your bedding material. Shredded newspaper or cardboard are popular choices, but avoid glossy paper products as they may contain chemicals harmful to worms.
Once you have your bin and bedding set up, it’s time to introduce the worms! Red wigglers are the most common type of earthworm used in vermicomposting, so start with them if possible.
In subsequent feedings, make sure to add a balanced mix of nitrogen-rich (e.g., fruit and vegetable scraps) and carbon-rich (e.g., shredded paper) materials to maintain proper moisture levels and prevent odors.
With some patience and care, you’ll soon have healthy soil amendment for all of your gardening needs – all thanks to the power of red wigglers!
Maintaining Your Worm Bin For Optimal Results
Now that you have your worm bin set up and are enjoying the benefits of vermicomposting, you may be wondering how to maintain it for optimal results.
One common concern is the potential odor issues associated with worm bins. While this can sometimes happen, there are a few easy steps you can take to keep odors at bay.
First, make sure not to overfeed your worms as excess food can create unpleasant smells.
Secondly, ensure proper ventilation by drilling small holes in the lid or sides of the bin.
Lastly, add some dry bedding materials like shredded paper or leaves on top of the food scraps to absorb any excess moisture.
Harvesting compost from your worm bin is another important step in maintaining it properly.
To do so, simply move all the contents of one side of the bin to the other and wait a week or two for the worms to migrate to the new side.
Then remove the finished compost from the section where there are no worms left.
If you encounter any troubleshooting issues such as fruit flies or too much moisture in your worm bin, don’t worry!
There are simple solutions for these problems too.
For fruit flies, cover your food scraps with more bedding material and avoid adding overly ripe fruits and vegetables until they disappear.
If you have too much moisture in your bin causing an unpleasant smell, add more bedding materials and reduce feeding frequency until everything balances out again.
As a Master Gardener, I highly recommend taking good care of your worm bin to get maximum benefit from vermicomposting while avoiding any potential issues along the way.
By following these tips for maintenance and harvesting compost regularly, you will soon enjoy nutrient-rich soil perfect for growing healthy plants without resorting to chemical fertilizers – all thanks to our little red wiggler friends!
Frequently Asked Questions
What Types Of Worms Are Best For Vermicomposting?
When it comes to vermicomposting, choosing the right type of worm is crucial.
Two popular options are Red wigglers and African nightcrawlers.
Red wigglers are smaller and reproduce quickly, making them a great choice for composting in small spaces.
African nightcrawlers, on the other hand, are larger and can process more organic waste at once.
Regardless of which type you choose, both require proper worm bedding – a mix of moistened shredded paper or cardboard and soil – to thrive.
It’s important to note that not all worms are suitable for vermicomposting; using garden earthworms may even harm your compost bin.
By selecting the appropriate species of worms and providing them with the necessary environment, you’ll be well on your way to successful vermicomposting!
Can I Add Meat Or Dairy Products To My Worm Bin?
Hey there, fellow gardeners! Are you wondering if it’s okay to add meat or dairy products to your worm bin?
Well, let me tell you – while it’s not recommended due to the potential for attracting pests and causing imbalances in the bin, it is possible to do so if done properly.
To balance a worm bin with these types of food scraps, make sure to bury them deep within the bedding material and only add small amounts at a time.
Additionally, keep an eye on the moisture levels in your bin as excess liquid from meat or dairy can cause issues such as bad odors and fruit fly infestations.
If you do encounter pests in your worm bin, don’t fret! Worm bin troubleshooting involves identifying which pest is present (such as mites or ants) and taking appropriate measures to prevent their spread.
Happy vermicomposting!
How Long Does It Take For Vermicompost To Be Ready To Use In My Garden?
When it comes to vermicomposting, one of the most frequently asked questions is how long it takes for the compost to be ready for use in the garden.
Unlike traditional composting which can take several months, vermicomposting involves using worms to break down organic matter into nutrient-rich castings much faster.
In fact, depending on factors such as temperature and moisture levels, vermicompost can be ready within a few weeks to a couple of months.
The benefits of vermicomposting over traditional methods are numerous – not only does it produce high-quality fertilizers that improve soil health and plant growth, but it also reduces waste going into landfills and helps conserve water by retaining moisture in the soil.
So why not give it a try and see just how quickly your garden flourishes with this sustainable gardening technique?
Can I Use Vermicompost For Indoor Plants?
Yes, you can definitely use vermicompost for indoor plants! The benefits of using this organic fertilizer are plentiful – it contains essential nutrients and microorganisms that help keep your plants healthy and thriving.
To get started with using vermicompost for your indoor plants, there are a few techniques to keep in mind. First, make sure the compost is fully matured before using it as fertilizer. This usually takes around 2-3 months, but can vary depending on conditions like temperature and moisture levels.
Second, be careful not to over-fertilize your plants – too much vermicompost can actually harm them. Start by adding small amounts and gradually increase based on how your plant responds.
With these tips in mind, incorporating vermicompost into your indoor gardening routine can lead to beautiful, healthy plants.
What Do I Do If My Worm Bin Starts To Smell Bad?
If you notice a bad smell coming from your worm bin, don’t panic – there are ways to control the odor and troubleshoot any issues.
First, make sure that you’re properly maintaining your vermicomposting system by adding the right amount of bedding materials and avoiding overfeeding your worms.
If odors persist, try increasing airflow through the bin or adjusting the moisture levels.
You can also add carbon-rich materials like shredded paper or dried leaves to help absorb excess moisture and reduce smells.
Remember, proper worm bin odor control is key to successful vermicomposting!
Conclusion
Overall, vermicomposting is an excellent way to create nutrient-rich soil for your garden and indoor plants. It’s easy to get started – all you need is a container with holes for ventilation, some bedding material like shredded newspaper or leaves, and red wiggler worms.
As a Master Gardener, I’ve seen firsthand the benefits of using vermicompost in my own garden. Not only does it improve soil structure and fertility, but it also reduces waste by turning food scraps into valuable fertilizer. Plus, it’s a fun way to involve kids in gardening!
One metaphor that comes to mind when thinking about vermicomposting is the concept of building a healthy ecosystem. Just as each organism in nature plays a role in maintaining balance and vitality, so too do the worms, bacteria, fungi, and other microorganisms in your worm bin work together to break down organic matter and create rich compost.
By nurturing this tiny world within your home or yard, you can support both the health of your plants and the health of our planet as a whole. So why not give vermiculture a try? Your garden (and your worms) will thank you!
